Published on June 1, 2021
Yolk-Free Body Mass
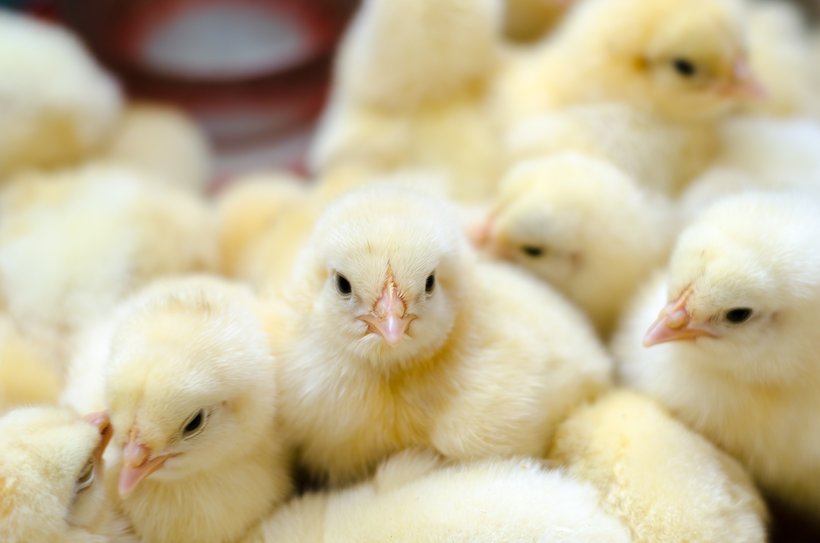
The goal of every hatchery is producing chicks of “excellent quality”. Chick quality is reflected in low mortality after placement and ideal production performance. Multiple studies have shown a positive relation between Yolk-Free Body Mass and subsequent performance of the bird after placement. A small yolk sac is preferred as this indicates ideal environmental conditions in the incubators and hatchers. It also indicates the ability of the embryo to utilize the yolk components to form muscle and bone. This sheet describes how to measure the Yolk-Free Body Mass.
Procedure
- Select at least 15 saleable chicks per flock.
- Euthanize chicks humanely (based on approved regional and corporate methods).
- Weigh the euthanized chicks individually and record their weights.
- Carefully remove the entire yolk sac from the body cavity using the standard necropsy technique.
- Place the body of the euthanized chick on its back with its feet facing you
- Reflect the wings back.
- Cut through the skin, between the legs and the breast, so the legs can be fully abducted and lie flat against the table.
- Remove the skin from the ventral surface of the poult by cutting across at the caudal edge of the keel, and then pulling skin cranially and caudally. You will see the muscular body wall.
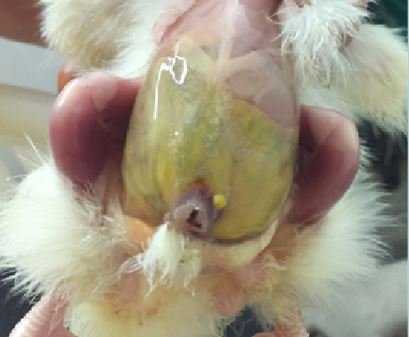
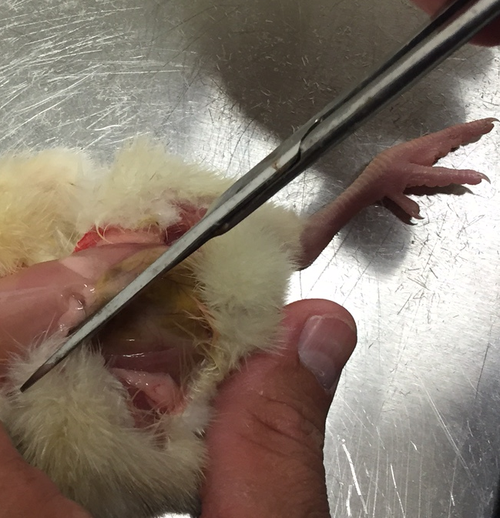
- Cut into the body cavity, using scissors behind the breastbone, then pull the abdominal muscle caudally to expose some abdominal viscera.
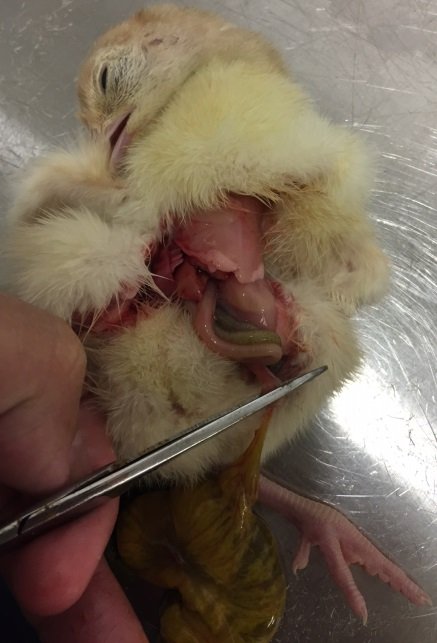
- Remove the yolk sac by incising the yolk stalk. The yolk stalk is a narrow tube-like tissue that attaches the yolk sac membrane to the jejunum-ileum junction.
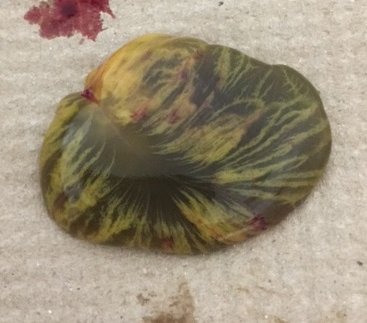
- Weigh each yolk sac individually.
- Calculate the yolk sac to body weight ratio by taking the weight of the yolk sac and dividing it by the weight of the chick.
- Multiple the total by 100 in order to determine the ratio as a percentage.
- Note: an acceptable yolk sac to body weight percentage is 10% or less.
Examples
Acceptable Yolk Sac
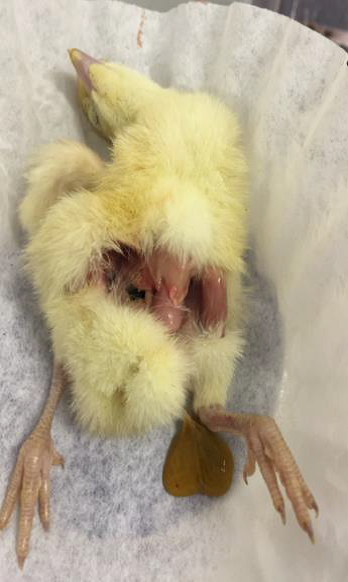
The figure below depicts a yolk sac of an acceptable size. The chick in this example was incubated at a low temperature with shell temperature readings below 100°F (37.8°C). After hatch, the internal temperature of the chicks measured inside the hatcher, was 103°F (39.4°C). The yolk sac to body weight ratio was 8%.
Unacceptable Yolk Sac
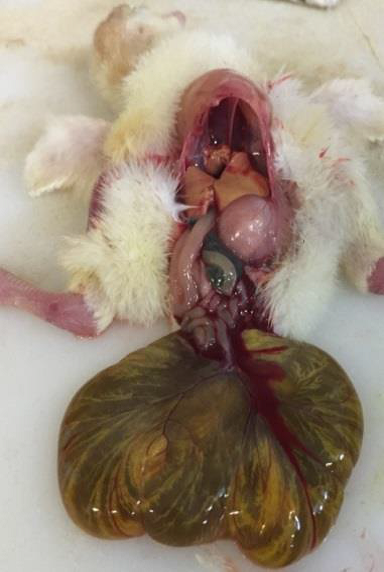
The figure below depicts a yolk sac of an unacceptable size. The chick in this example came from eggs, that after the second week of incubation, were exposed to temperatures over 101°F (38.3°C). The internal temperature of the chicks at time of pull was 106°F (41.1°C). The yolk sac to body weight ratio was 22%.
Key Notes
- Monitor eggshell temperature frequently. Goal: Egg shell temperature below 100°F (37.8°C)
- Monitor hatch window 32 hours before pull time. Goal: Maximum 1–2% of chicks hatched at this time.
- Monitor internal temperature of the chicks after hatch. Goal: Internal temperature of 103-104F (39.4– 40.0°C).
- Monitor chick activity once placed at the farm. Goal: chicks are alert and active, and seek out food and water

